🗂️ Anki Guide #4: Making a kanji deck
2023 November 04So we made vocabulary cards in Parts 1 and 2, and learned how to make slightly more advanced cloze deletions in Part 3. Now it's time for some good ol' kanji practice!
Let's say you want to improve your Japanese sightreading. In this post I'm going to talk about what worked for me, and that was to make a kanji deck in Anki to practice writing kanji out by hand. This helped me to recognize the different radical components that make up each character, which helped a TON with my kanji sightreading ability.
Let's get to it!
Make the deck
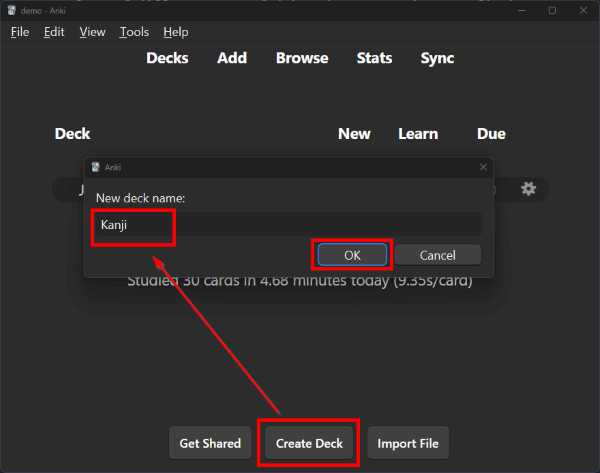
This step is simple. Click the Create Deck button at the bottom of the main Anki window, then name your new deck something like "Kanji." You'll want this to be separate from your regular Japanese vocabulary/sentence deck.
Get the Kanji Colorizer add-on
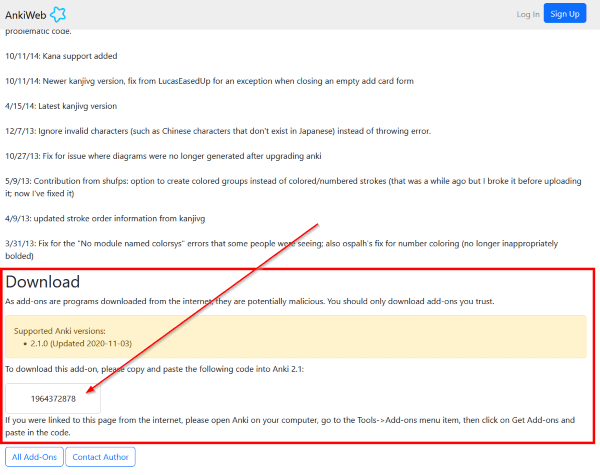
Time to grab another add-on. Go to this page, scroll down to the Download section, then copy the code in the box.
Go back to Anki. Go to Tools > Add-ons, then click the Get Add-ons... button. Enter the code you copied from the website, then click OK.
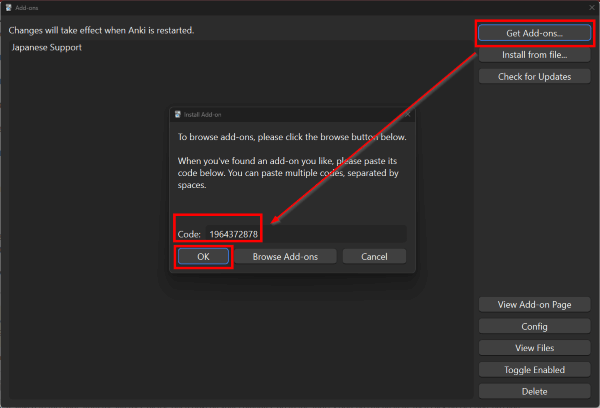
Wait for the add-on to download and install, then restart Anki.
Making your kanji note type
Yep, time to go back to Tools > Manage Note Types. This time hit the Add button and Add: Basic.
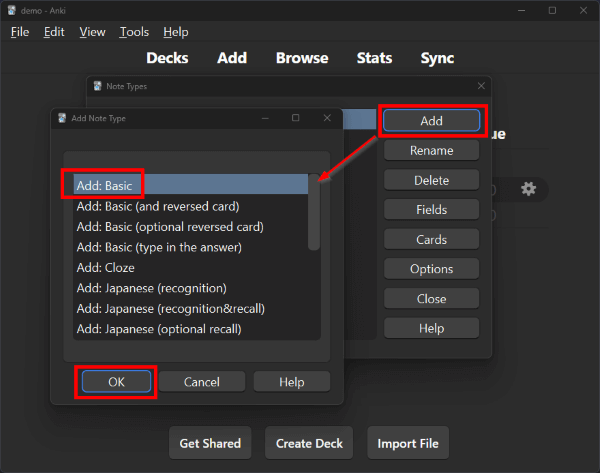
Name your new note type Japanese - Kanji, or at least have "Japanese" somewhere in its name. You'll need this for the kanji add-on. Click OK when you're done.

Highlight your new Japanese - Kanji note type, then click the Fields button.
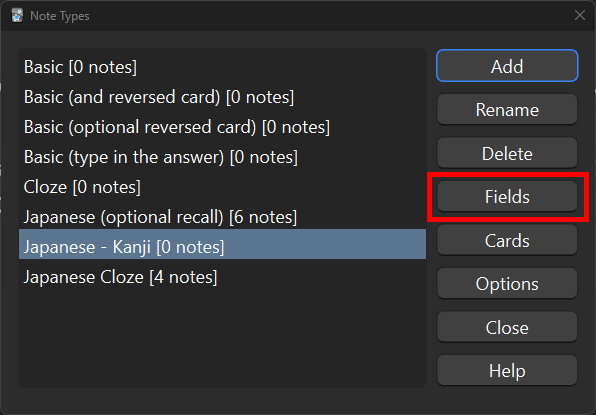
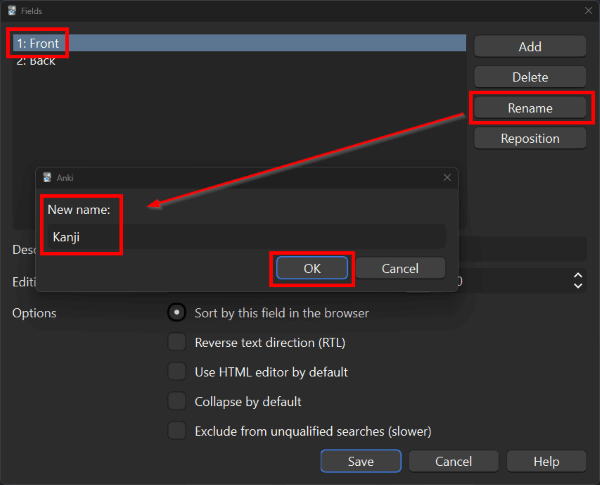
Rename the Front field to Kanji, then Add a new field named Diagram. The Kanji field is where you will type in the character for that note, and the Diagram is the big colorful stroke order diagram that the add-on will generate from your Kanji field.
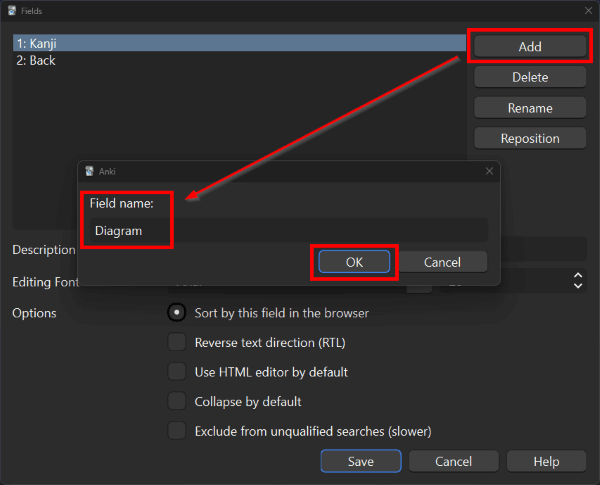
You can technically stop here, but I like to add a few more fields to my kanji notes. So let's Add fields for Keyword, Onyomi, and Kunyomi. I also want to rename Back to Notes.
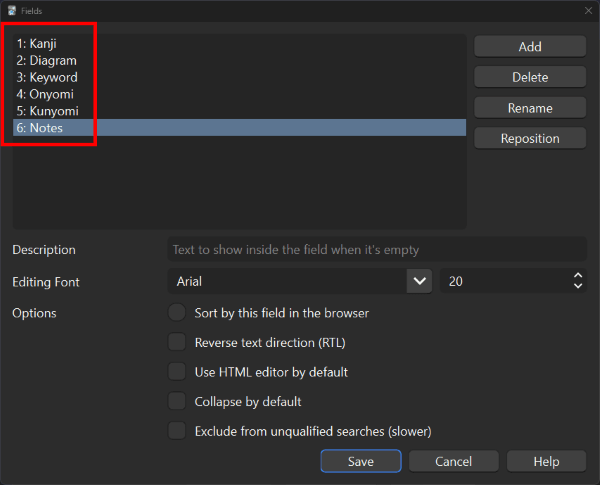
Reorganize your fields to be however you want, then Save your note type.
Editing your kanji card templates
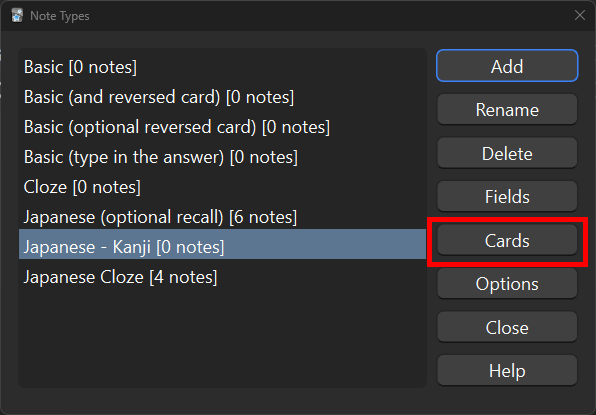
Next, with your Japanese - Kanji note type still highlighted, click the Cards button.

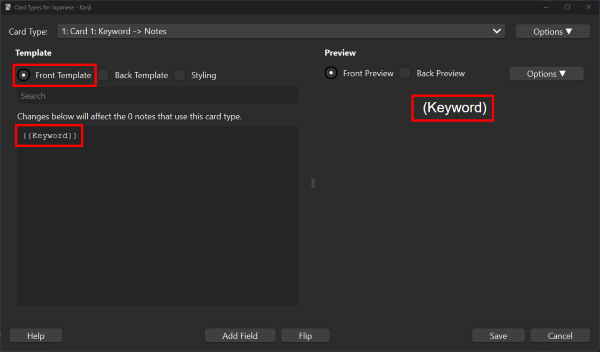
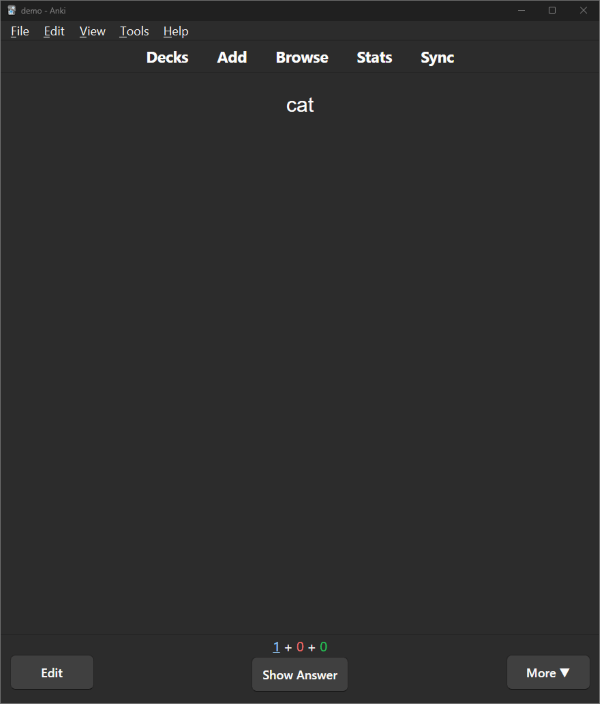
This is what the front of your card will look like by default. Because I use the RTK method of studying kanji, I want to be quizzed on the keyword, and then have to write out the character from memory. This means that I want to replace the {{Kanji}} field with {{Keyword}} on the Front Template.
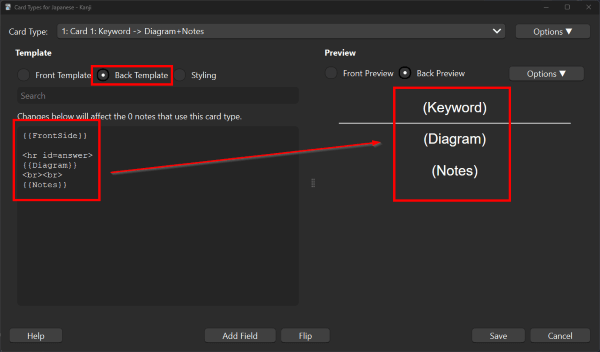
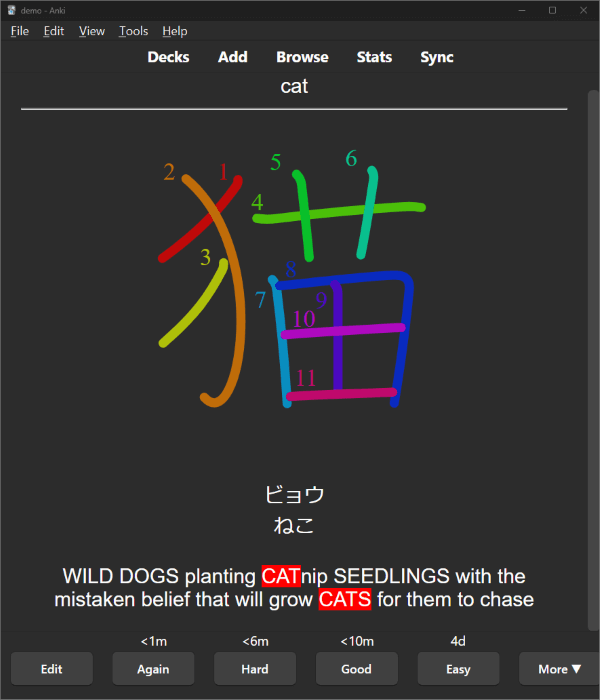
Next, let's look at the back. On the back of my card, I want to be able to check if I wrote the correct character using the correct stroke order. This means that I want to see the big colorful stroke order diagram. So let's add that in above the {{Notes}} field, and add two <br><br> line breaks between them to space things out:
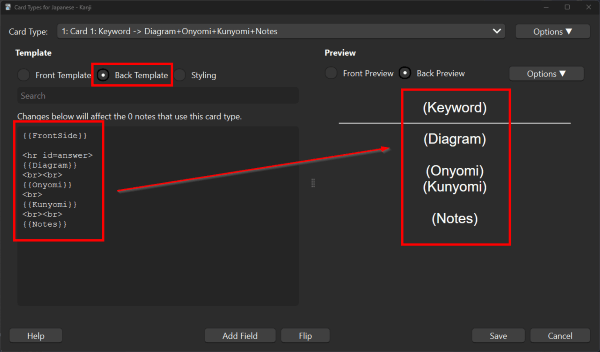
I also want to be able to see the {{Onyomi}} and {{Kunyomi}} fields as well, so let's add those above {{Notes}}, again using <br> line breaks to space things out:
As always, this is the point when you can play with the HTML/CSS to make your cards look nicer. For now, let's click Save, then Close the note types window.
Adding kanji notes to your deck
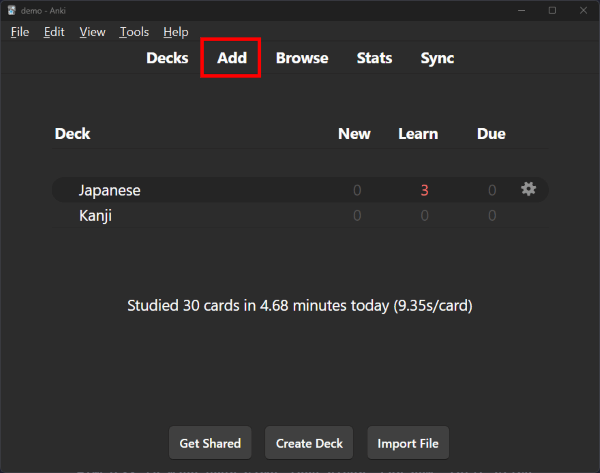
Back on the main Anki screen, click Add.
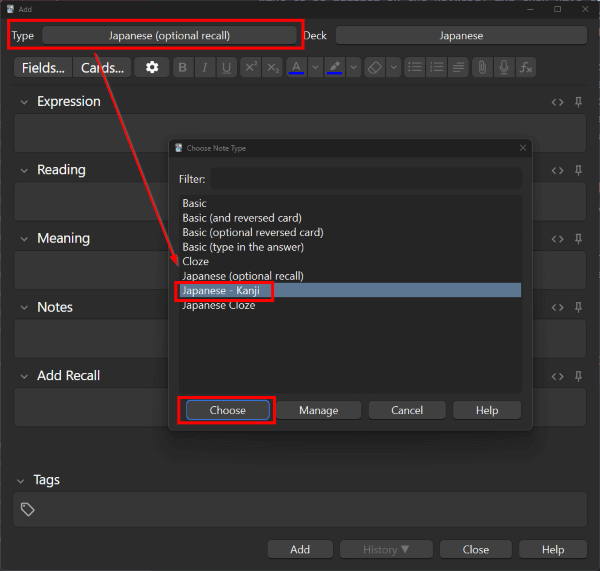
Click the box next to Type and highlight your new Japanese - Kanji note type, then the Choose button.
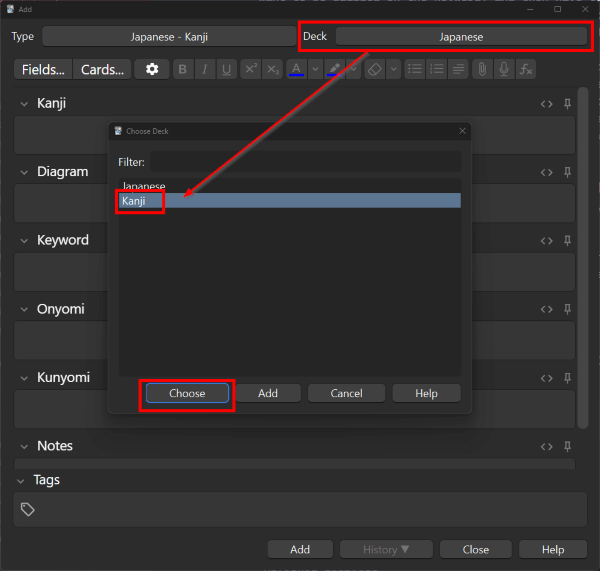
Next, click the box next to Deck, highlight Kanji, and then the Choose button.
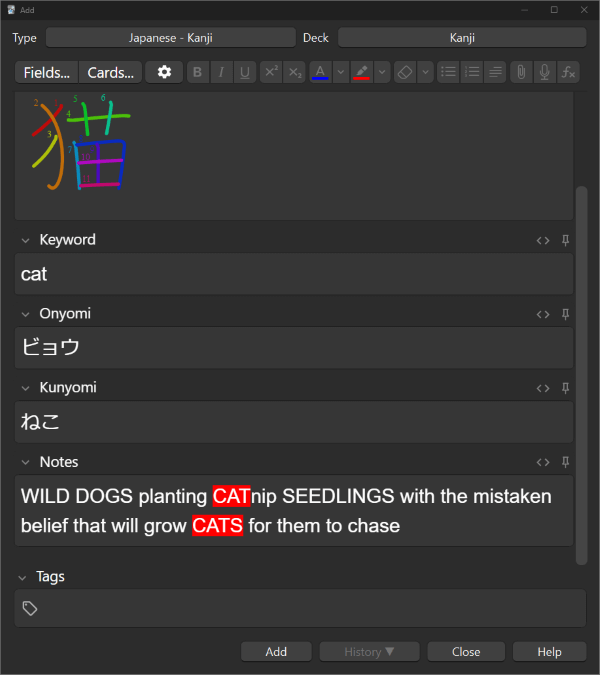
Now, let's input some kanji! Enter a character into the Kanji field, and you should see it generate a colorful stroke order diagram in the Diagram field.
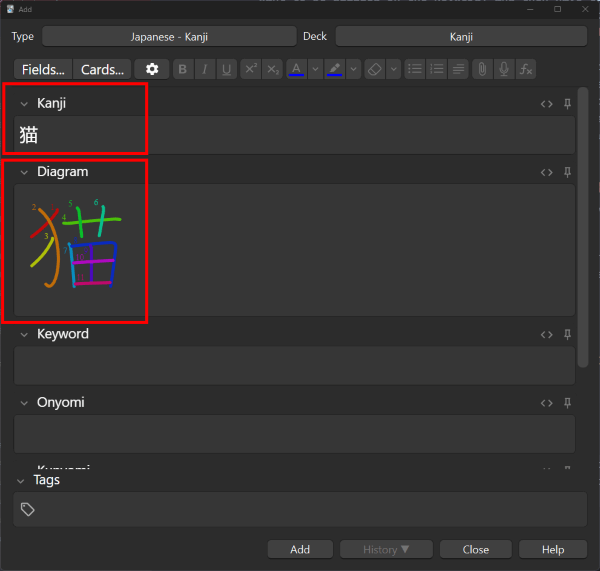
Fill out the rest of your note as needed. I like to use the Notes section for mnemonics to help me remember the stroke order and radicals of a character.
Practice writing kanji
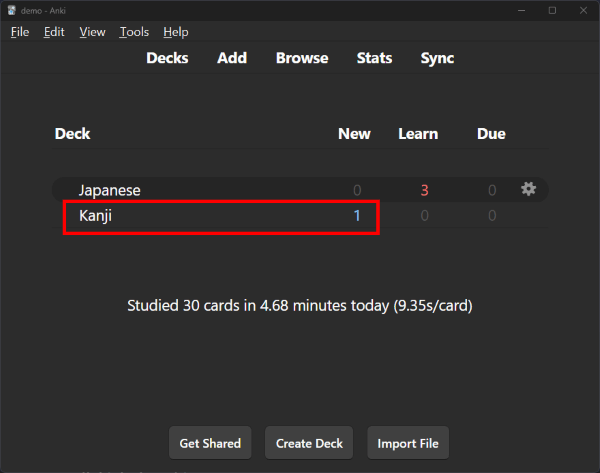
When you get back to the main Anki screen, you'll see that you have a new card waiting to be studied in your new Kanji deck! Grab your notebook and a pencil, and practice writing this character!
Ta-da! This is how you can make a kanji deck to practice writing!